Due to work and school we do not have much time for the electronics project, but we managed to get some wires and tools.
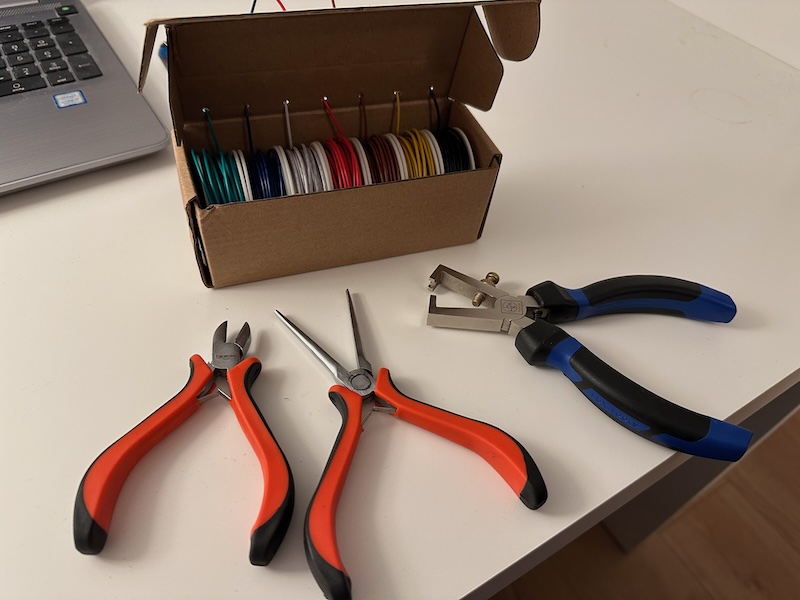
The wires have the size 22 AWG, where AWG stands for American Wire Gauge. You can look up in the internet what sizes there are and what they mean in mm2. It took some time to find solid wires because sometimes it is not clear from the description if it is solid or stranded and the pictures often make things even more confusing. At the end I found the Haerkn Electric Wire Kit 22 AWG, solid, 7 colors. Product number B08BZKM7R5. So far I’m satisfied with it.
I got the tools from a local hardware store. Not the cheapest ones, but also not too fancy. I could not find a good stripper that also fits 22 AWG, so we got one that is adjustable with a help of a screw. Not perfect, but does its job. And here is a sentence I never thought I would tell to my son: “we are not going to give out 100 euro for a fancy stripper“. 😀
For hints and ideas we again turned to Ben Eater and his video, Breadboarding tips.
Both the kids were happy to help.
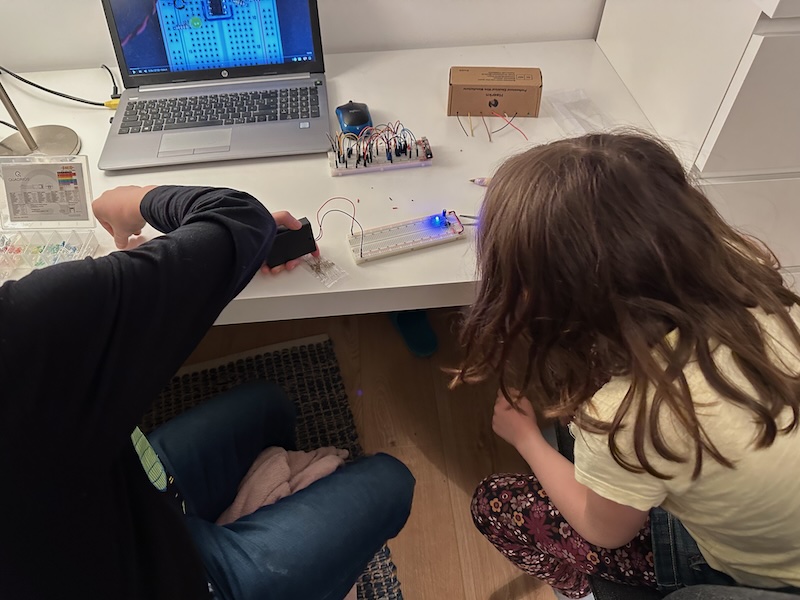
So far we managed to build up the astable 555 timer again, this time with fitting wires and tightly packed components. Unfortunately I forgot to take a picture of the board when it was finished, but you’ll see how it looks in the next post when we added the monostable timer.